 Software built by a broker, for brokers
Software built by a broker, for brokers
Software built by a broker, for brokers
Staff user guide
This is the public guide for Off Market Deals. It mirrors the in-app help. If something is not working, contact support and we will do our best to get back to you quickly.
Off Market Deals is a private, off-market listings board for your broker network. A broker posts a boat, and other brokers can search it and contact the listing broker directly. It uses the same sign-in as the rest of Yacht Broker Support, so if you are already signed in to Vendor Management you are signed in here too. This guide covers finding a listing, creating one, editing it (including photos), printing a customer sheet, how a listing expires, and the admin tools.
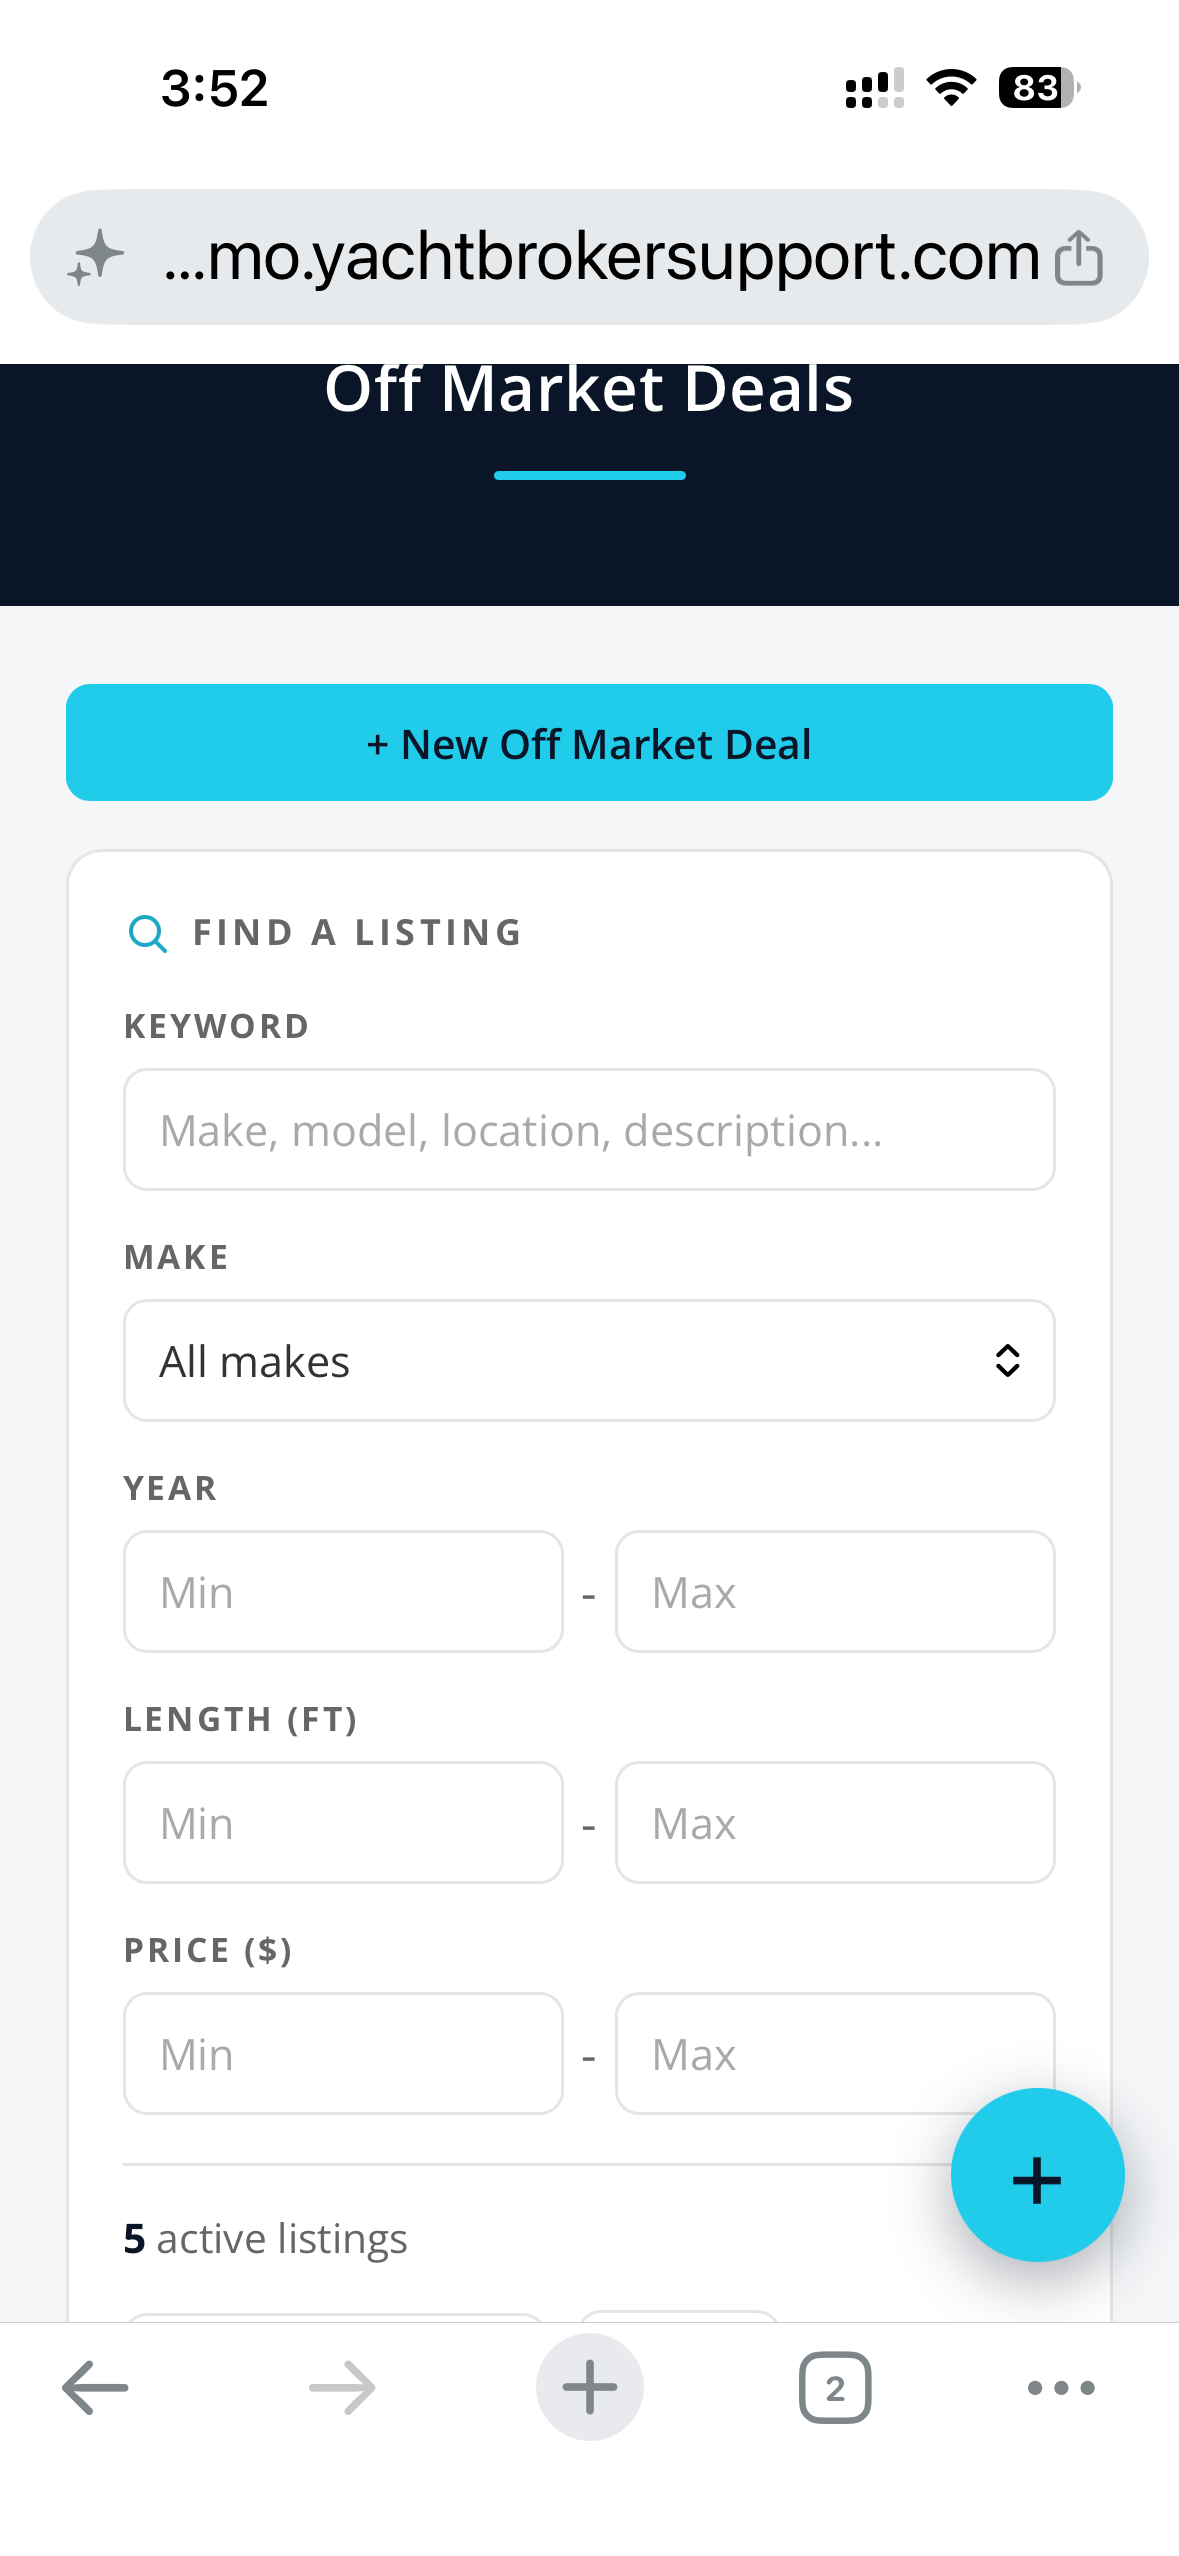
Off Market Deals is a shared, private board of off-market boats for your broker network. It is not public and it is not on the open web. Only signed-in brokers can see it.
The idea is simple: when you have a boat that is not listed publicly, you post it here so the rest of the network knows it exists. Another broker who has a buyer can search the board, find your listing, and contact you directly. Sign-in is the same account you use for Vendor Management and the rest of Yacht Broker Support.
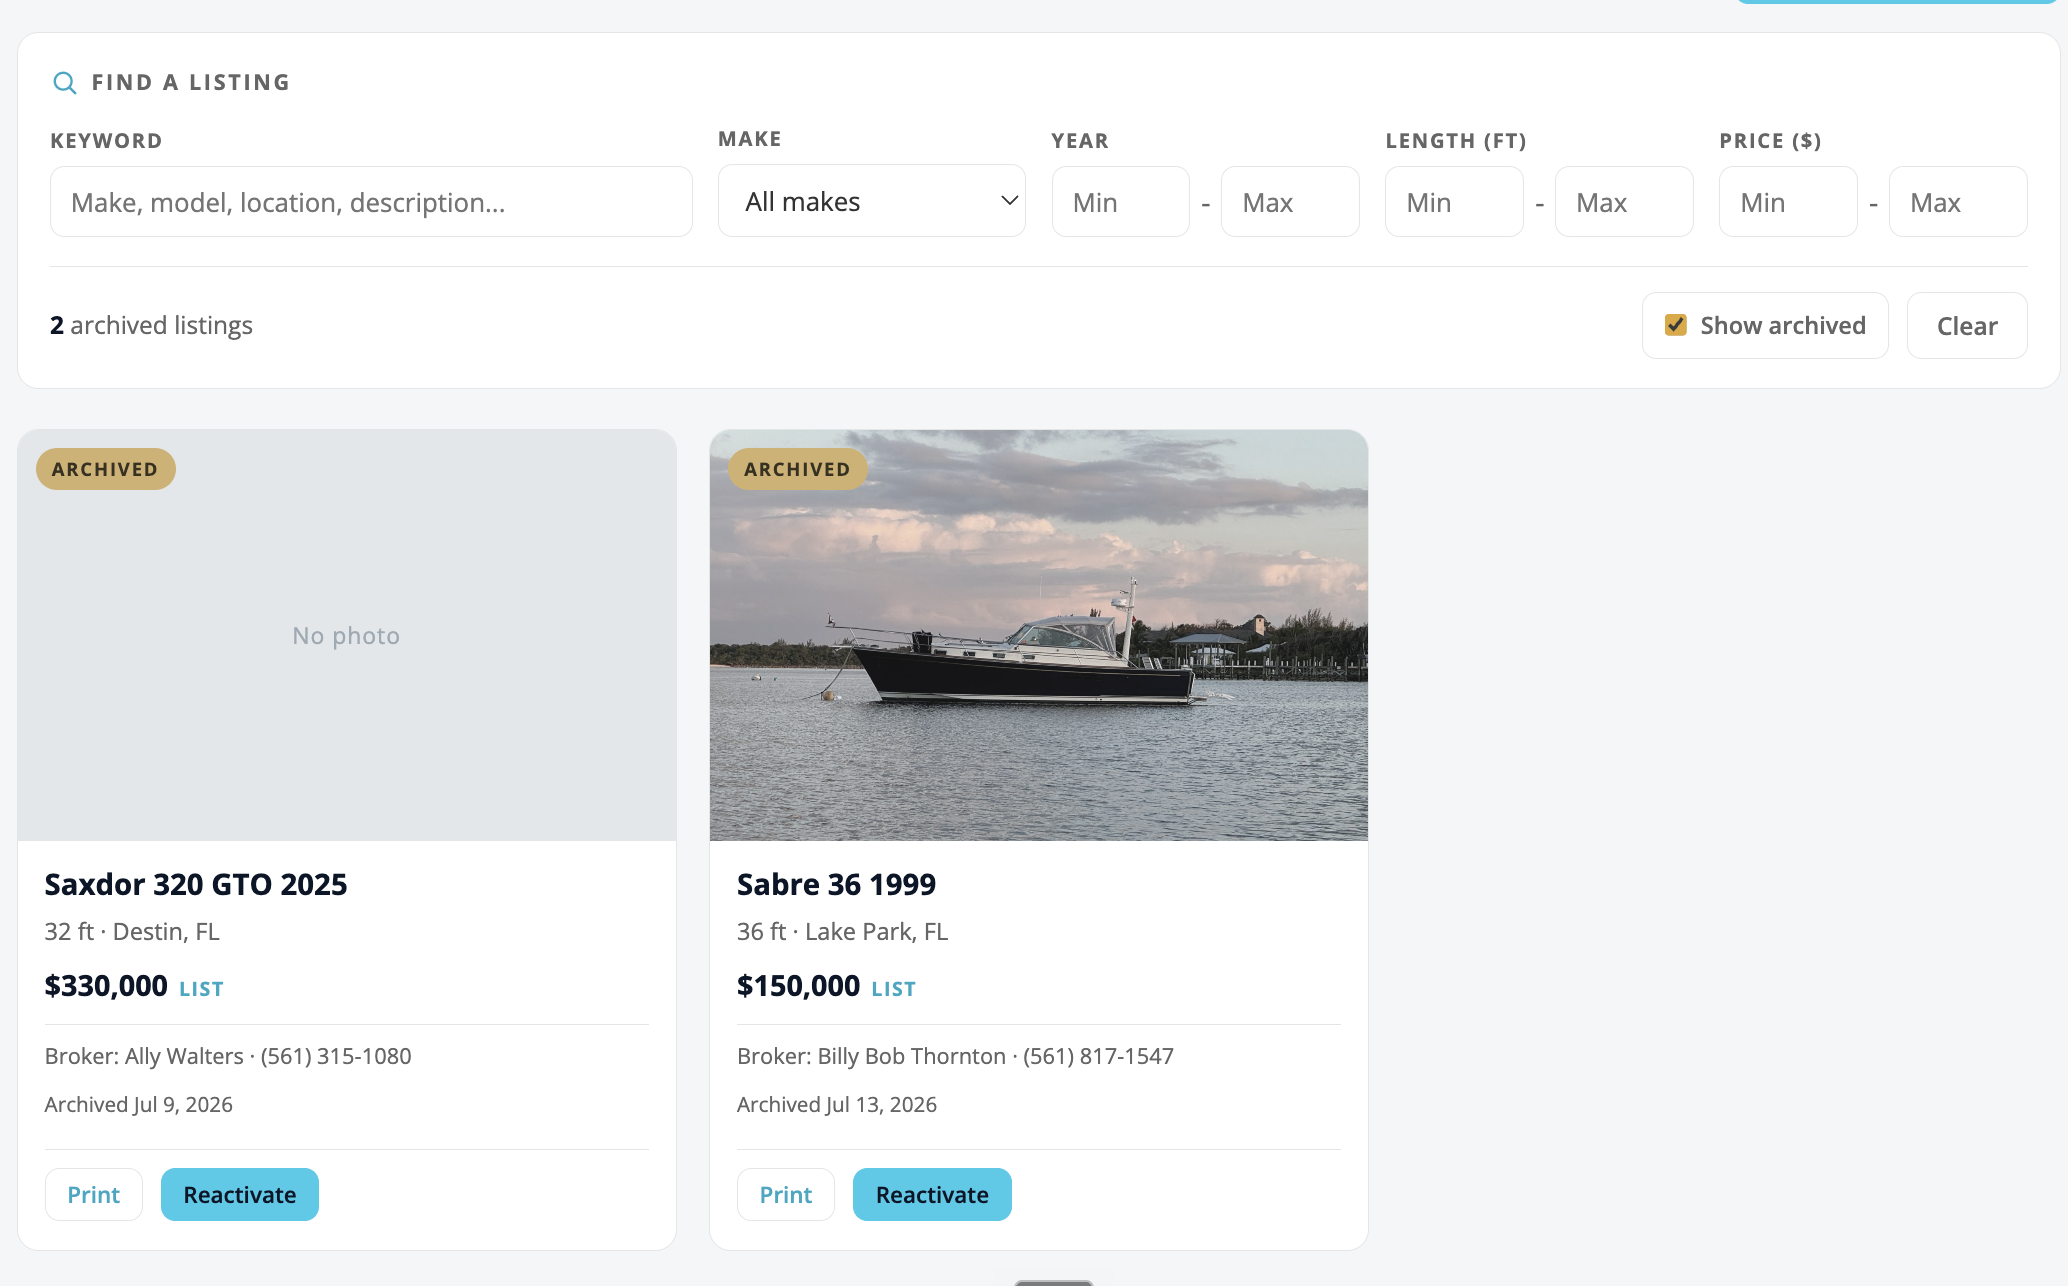
The top of the main screen is the filter bar. You can use one filter or stack several together. Listings show newest-entered first.
The filters are:
Click Clear to reset every filter and start fresh.
Open a listing and the large photo at the top is the viewer. The thumbnails underneath are how you move around it.
A listing with only one photo shows no arrows and no counter, because there is nothing to step through.
Click + New Off Market Deal at the top of the main screen and fill in the fields:
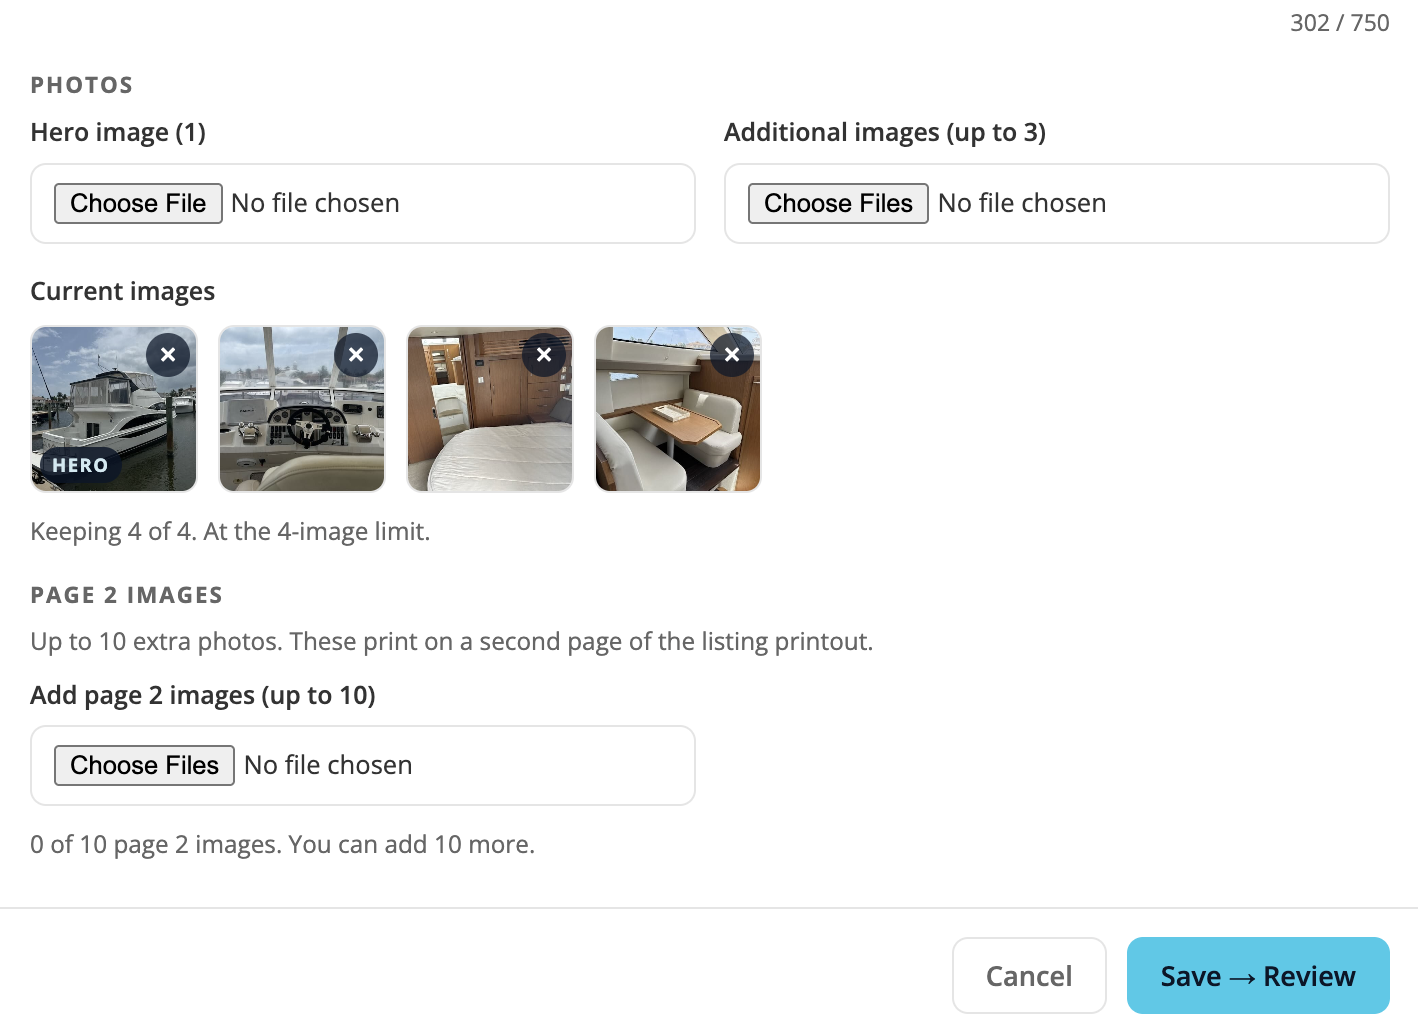
The photos you pick appear straight away as thumbnails, before anything is saved. Each one has an x to drop it, and the number on each thumbnail is its place in the running order. Pick more photos and they are added to the end - a second trip to the picker never wipes what you have already arranged.
There are two ways to move a photo. Drag it - on a computer grab the photo itself, on a phone or tablet use the small grip in the top-left corner of the thumbnail - and drop it where you want it; the rest shuffle around it as you go. That is the quick way to bring the last photo to the front. Or use the two arrows on the thumbnail to move it one place earlier or later, which is easier for a small nudge and is the way to do it from the keyboard.
The order you set is the order they are stored and printed in, so the photos you want on page one belong at the front. A live counter under the photos tells you how many more you can add, and says so plainly if you are over - drop a few and carry on rather than starting over.
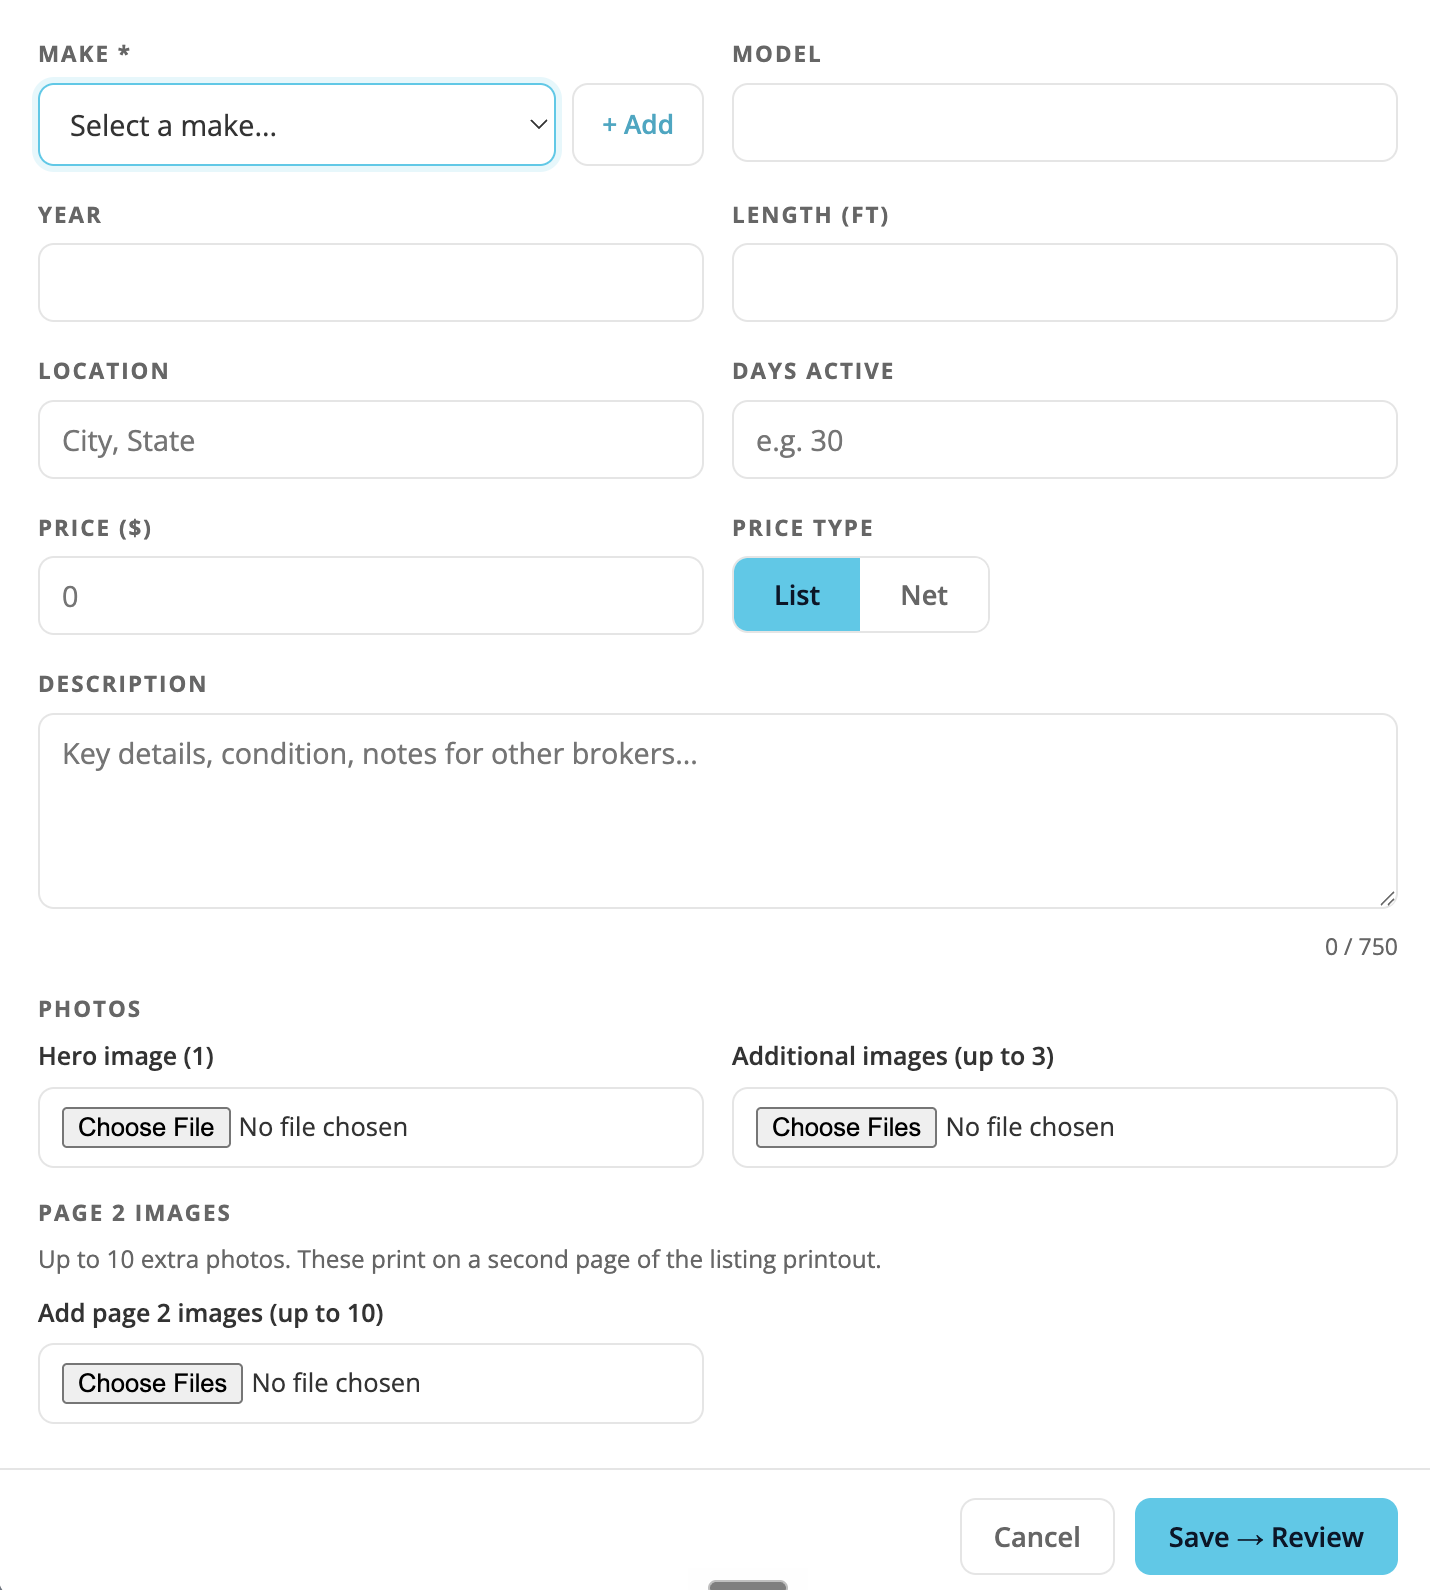
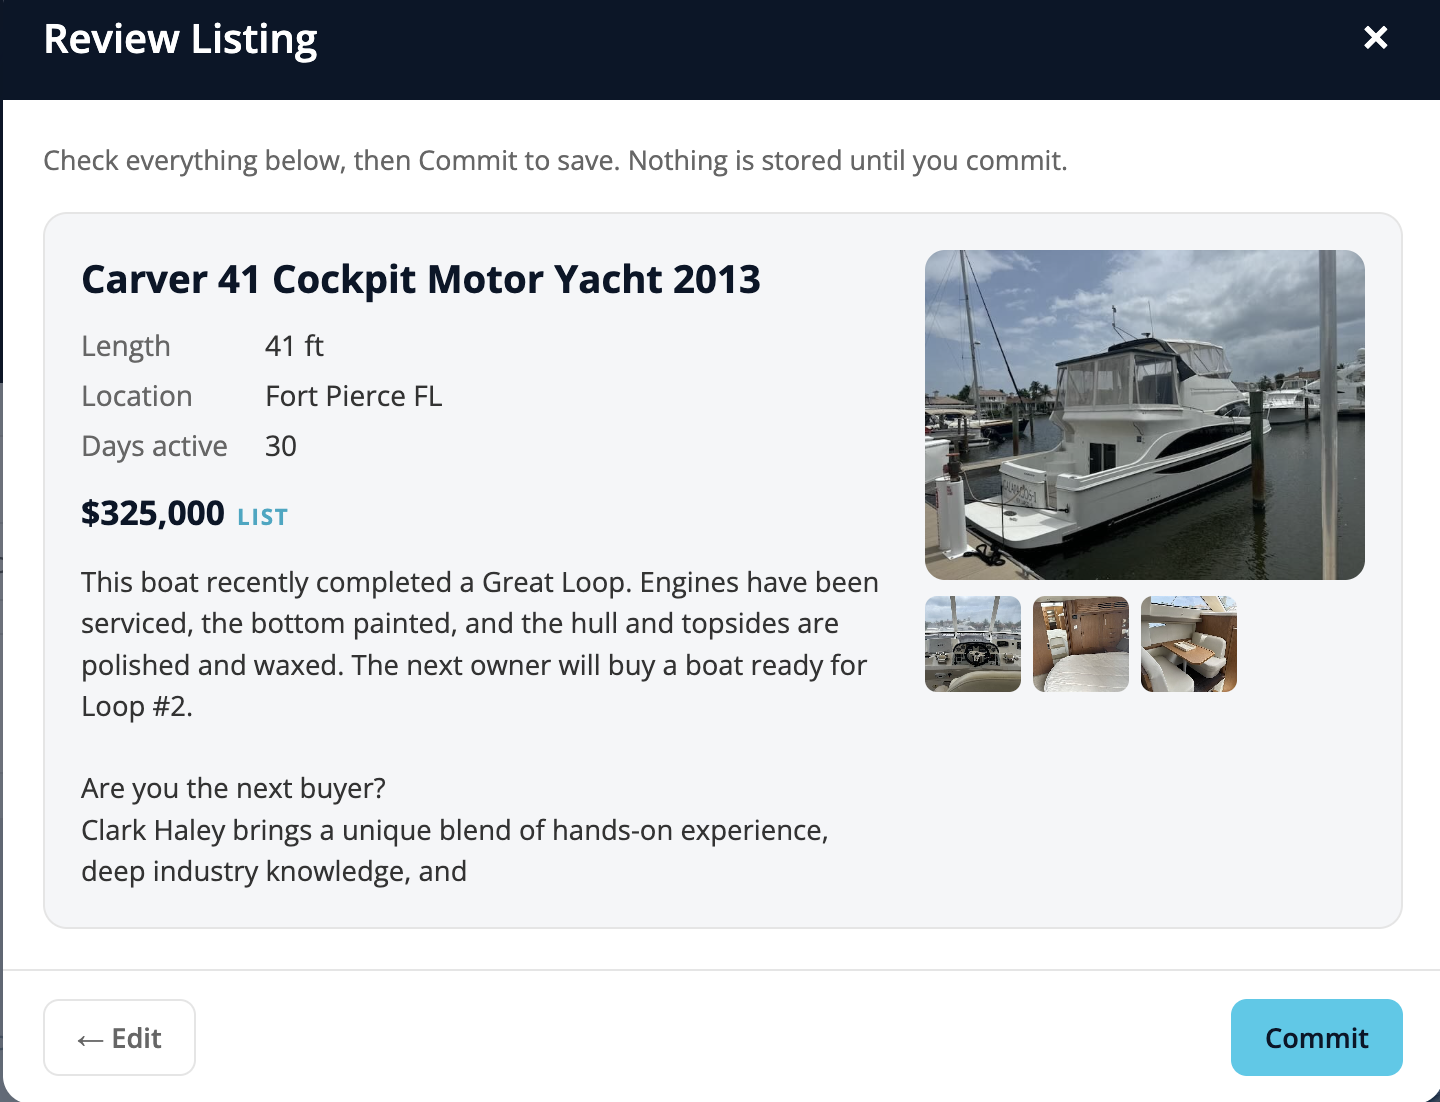
When the form is filled in, click Save → Review. You get a preview card showing exactly how the listing will look. From there you can:
Nothing is saved until you Commit. If you close the review without committing, the listing is not created.
If the boat you are posting has sold before, you probably have the sold listing sheet - the brochure you print out of your own MLS. Attach it in the Sold Boat Brochure slot at the top of the form and the app can read it and fill the form in for you.
It has its own slot for a reason. It is the only document the app ever reads; everything you put under Documents is attached and left alone. Keeping them apart is what stops the app guessing which of five attachments is the sold sheet.
Attaching the brochure does not change anything on its own. A prompt appears - "Read this brochure and fill in the form?" - with Read it and Not now. Choosing Not now still keeps the brochure attached to the deal; it just does not read it.
If you choose Read it, a progress bar shows the brochure uploading, then tells you it is reading. The read takes about twenty seconds - the bar is there so you can tell it is working rather than stuck.
The app pulls what it can from the sheet and offers: Year, Make, Model, Boat Name, Length, Beam, Max Draft, Hull Material, Class, Condition, Fuel Type, Location, Last Sold Date and Last Sold Price. A line under the slot then tells you exactly which fields it filled.
Two rules are worth knowing, because both are deliberate:
If a field is already filled in and the sheet says something different, the app tells you rather than leaving it. A short block appears under the slot naming the field, what you have, and what the brochure says - for example Make: you have "Sea Ray", the brochure says "Ferretti Yachts".
Nothing is changed by that block on its own. Each line gives you two buttons: one to take the brochure's value, one to keep your own. Press either and the line goes away. This is how you fix a make that was wrong before you attached the sheet.
Check everything it filled in before you save. Every value is a suggestion, and the Review screen shows you all of them one more time.
Some sheets cannot be read - a scan or a photograph of a printout has no text in it to pull. The app will say so, the brochure stays attached to the deal, and you type the details in as normal. Nothing is lost and nothing is half-filled.
The brochure must be a PDF. If your site has not had the document reader turned on yet, the app says so and you fill the form in by hand.
Below the photos there is a Documents slot for anything else worth keeping with the deal - a survey, a spec sheet, a yard invoice. You can attach up to 10, as PDFs or images, and the Sold Boat Brochure does not count against that number.
The app never reads these. They are attached and stored, nothing more.
Each one appears as a named row with an x to drop it, before and after saving, so an attachment you did not mean to add is never permanent. On the deal itself they appear under Attachments, and any signed-in broker in the network can open them.
No attachment ever appears on the Broker Friendly Brochure. The sold sheet carries the sold price, and that sheet goes to a customer.
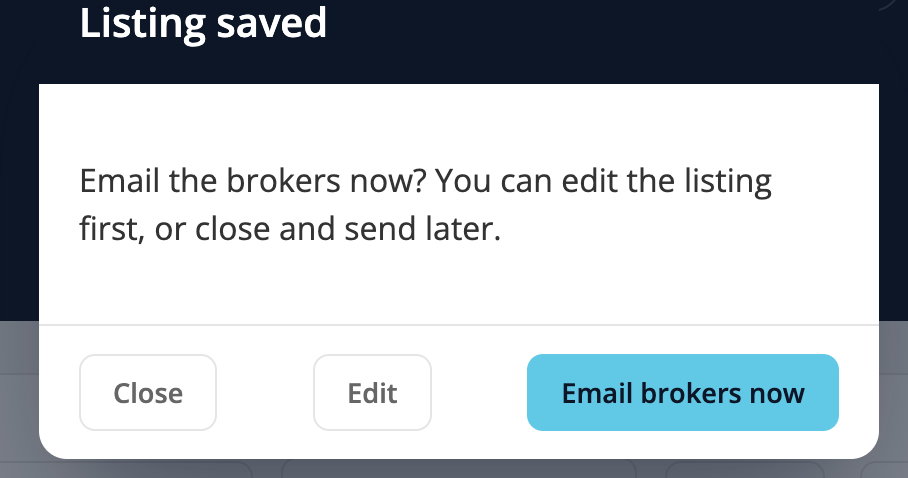
Committing saves the listing to the board. That is all it does: committing no longer emails the network automatically, so nothing goes out to anyone until you choose to send it.
Right after you commit, an "Email the brokers now?" prompt opens with three choices:
The app will keep reminding you until it goes out. If you close the prompt without sending, that is fine, but the same "Email the brokers now?" prompt returns every time you save that listing again, until it has actually been sent once. That way a boat you meant to share does not quietly sit on the board unseen. Once it has been sent, the prompt stops for good.
Sending is what notifies the brokers on your network that your boat is available. You do not have to be an administrator: you can send your own listing. There are two ways to do it.
The Send to broker group button stays on your listing until it has been sent once. That is your window to send it whenever you are ready. You confirm once, and it goes out.
A hero photo is required before you can send. If the listing has no hero image yet, add one first; the button is disabled with an "Add a hero image first" hint, and the app will not send a listing without it.
When you send, a progress bar runs while the emails go out, and you finish on an "N emails sent" confirmation so you know exactly how many brokers were reached.
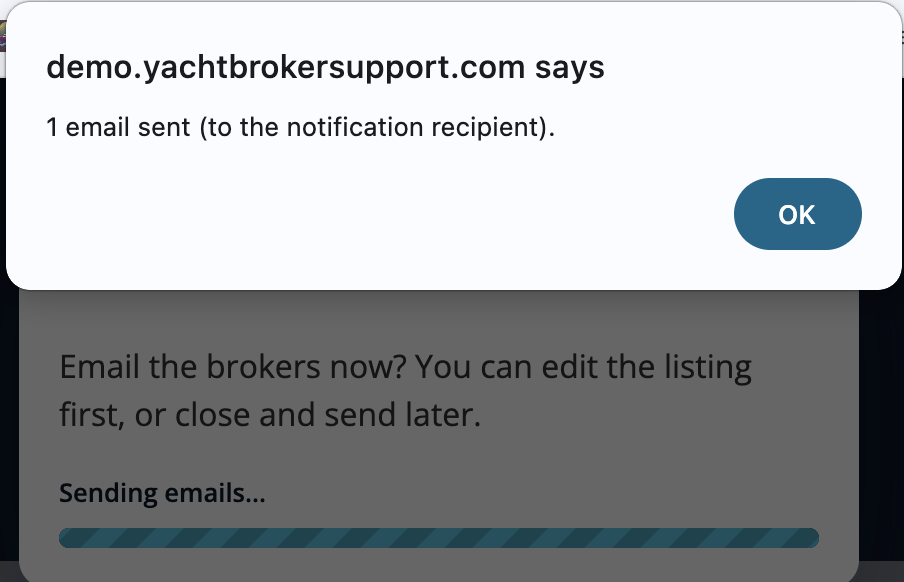
Who receives it depends on the office's notification email in Settings:
Once a listing has gone out, the Send to broker group button on the detail view is replaced by a status line so you can see it was handled:
"Email sent to N brokers on [date] at [time]." The date and time are shown in your own local time, so whoever opens the listing sees it in their zone.

Open a listing and click Edit. You can change any field the same way you filled them in when creating it.
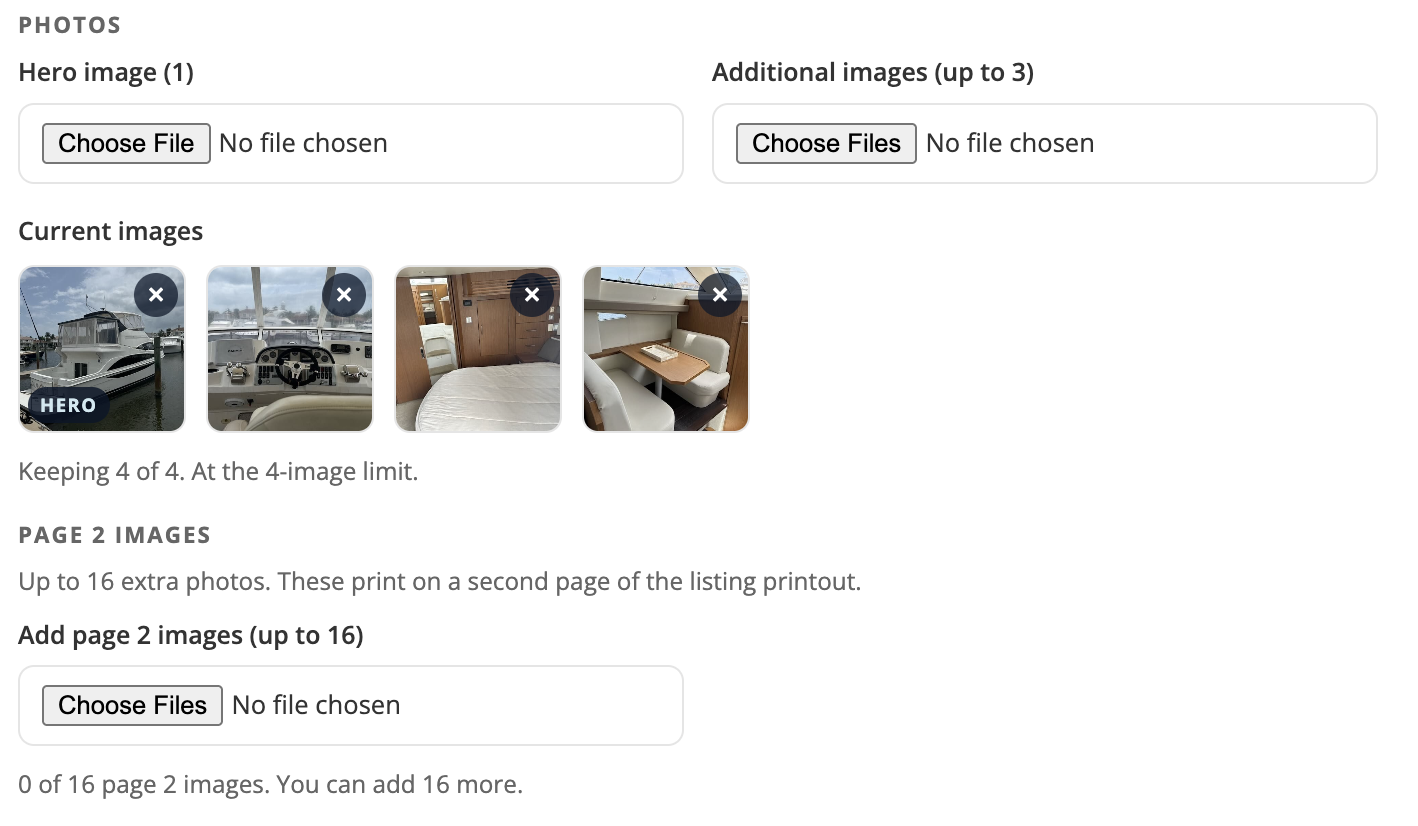
In edit mode you see the current photos as one combined list of thumbnails, each with an x to remove it. As you remove photos, a live counter tells you "Keeping X of N, you can add Y more" so you always know how many slots are free. Photos you add now appear in their own strip below, where you can drop them and set their order before saving; they go on to the end of the listing's existing photos.
A listing holds a hero image and up to 24 additional photos in one list. The hero and the first three additional photos print alongside the boat details; every photo after that fills the additional photo pages of the printed brochure, so a well-photographed boat is worth loading up.
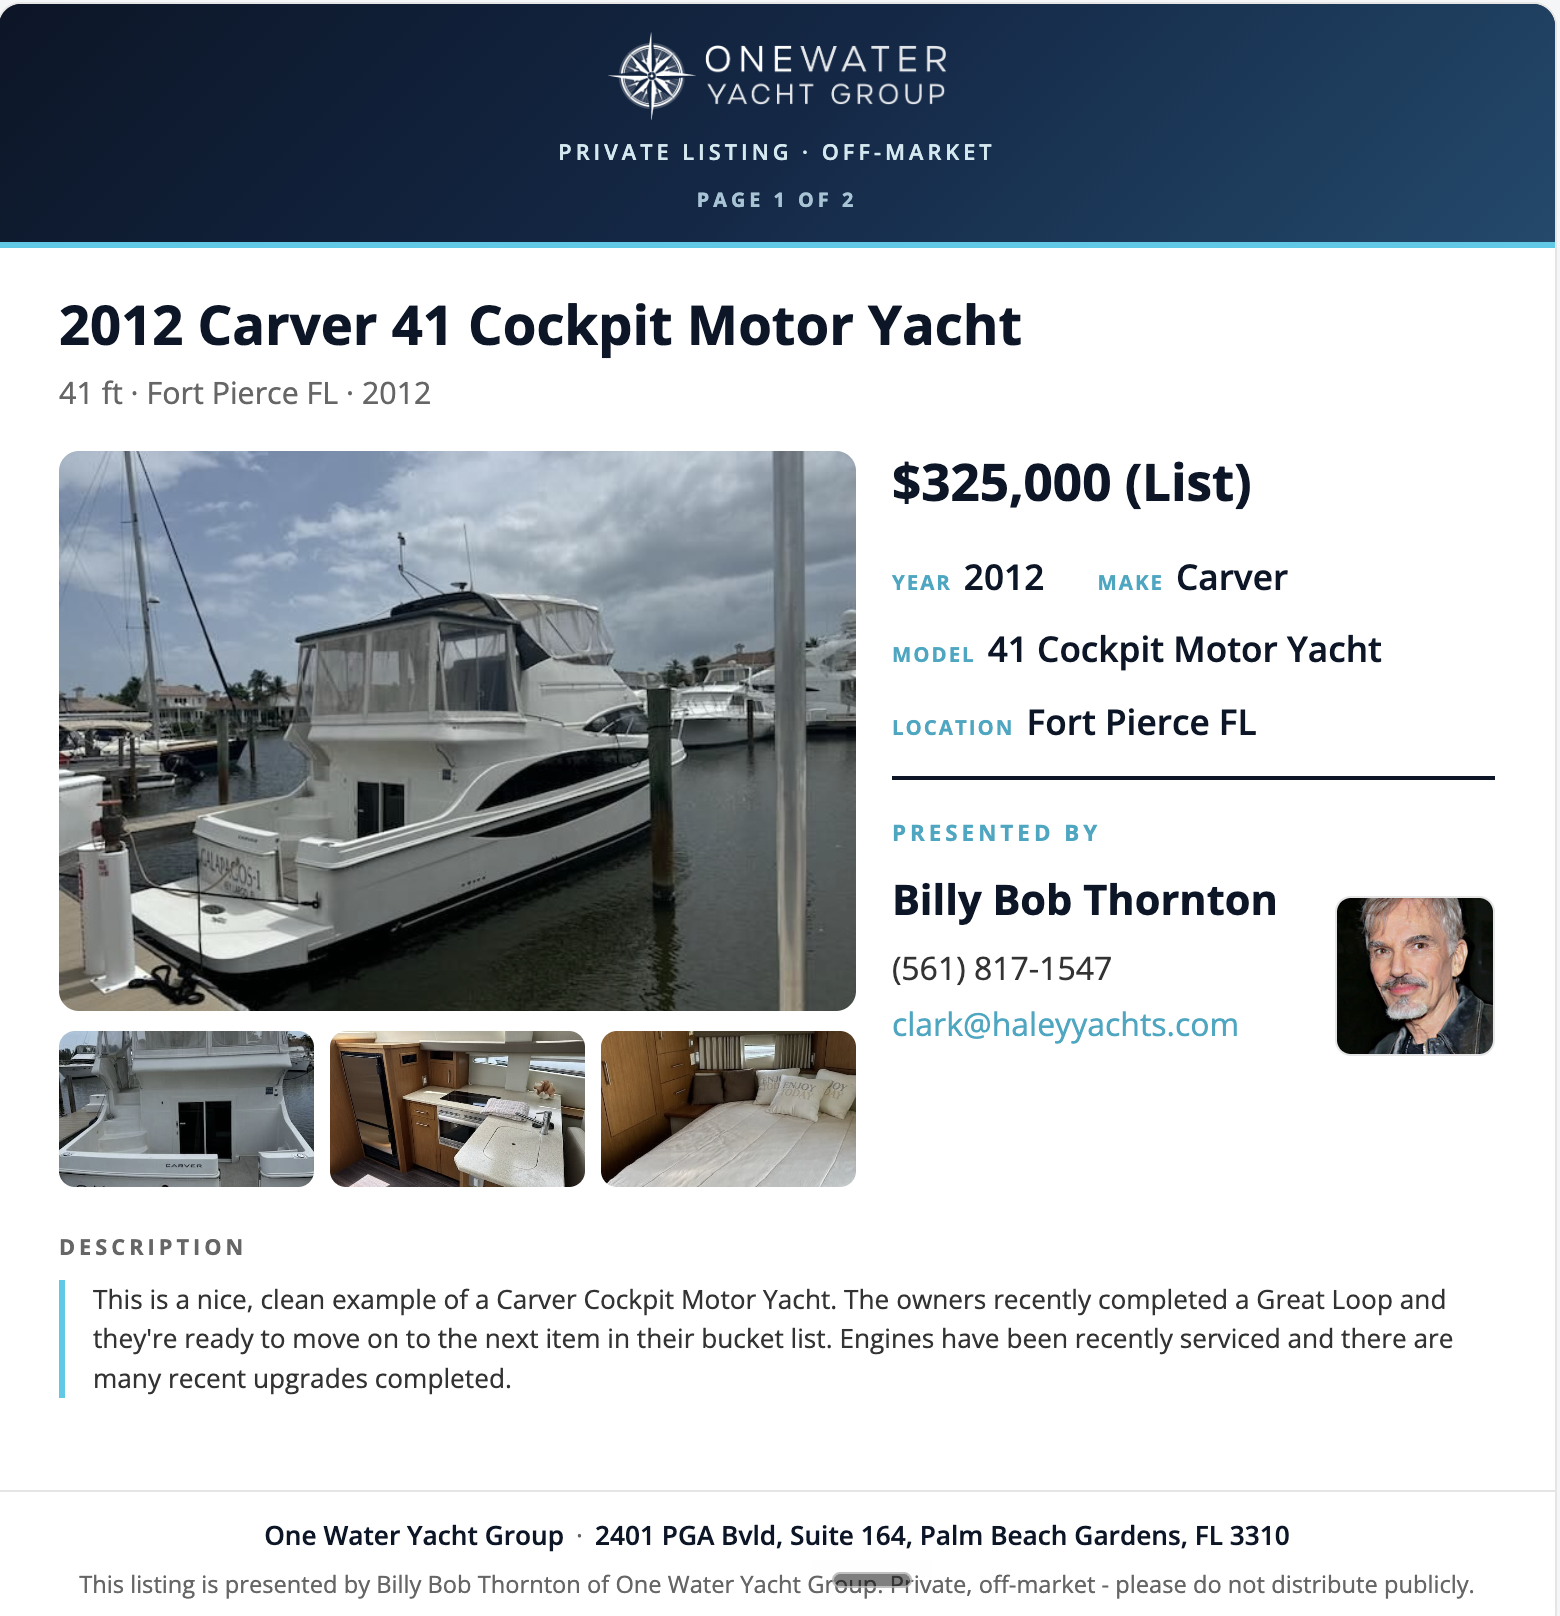
Open a listing and click Print Broker Friendly Brochure. This opens a clean, branded brochure with the company logo at the top and your contact block (whoever is signed in), ready to hand or email to a customer.
Listings priced Net print as "Call for Pricing", so a net price is never shown to a customer.
The last sold price and date never print on the brochure either. That information is for your pricing conversation with the owner; showing a buyer what the boat last sold for points out the depreciation on the very boat you are asking them to buy.
The Days Active value you set on a listing controls when it expires. If you leave it blank on a new listing, it defaults to 30 days.
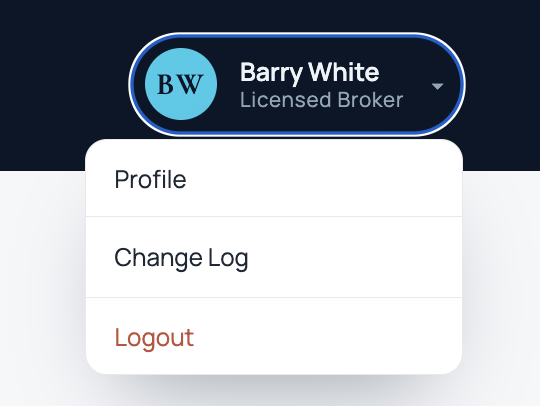
The account menu in the top-right corner is the same one you see everywhere in Yacht Broker Support - Off Market Deals, Vendor Management, and View Brokers all share it. Open it to reach My Profile (edit your own name, email, cell, Home Office, bio, and photo), the Admin tools if you are an administrator, and Log out. The photo and bio you set in My Profile are what other brokers see in the View Brokers directory on the launcher.
Administrators have a few extra tools:
A listing can be deleted by its owner (the broker who created it) or by an administrator. Open the listing and use the Delete button.
If something is not working or you are locked out, contact your firm's administrator and they can help.